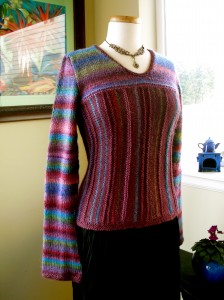
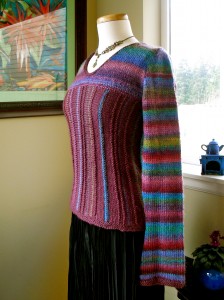
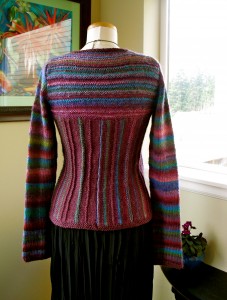
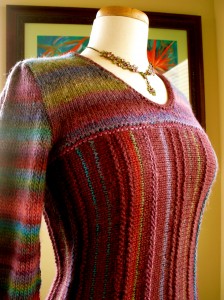
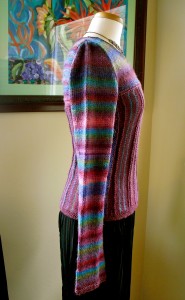
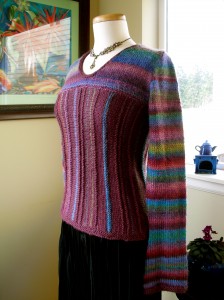
This is the first cardigan I have ever knitted using the top down circular knitting technique. I used scrap yarns in blues and purples left over from years of projects people in my family had knitted. Thus my name for it:Lady Violette’s Blue Violet Striped Cardigan! The yarns were in many different weights so I had to adjust the needle size to maintain the gauge throughout the project. Sometimes I knitted with one strand, sometimes 2 or 3 combined or held together, and I used sizes 6,7,and 8 US needles. There was a lot of guess work and re-knitting involved. Fortunately I’m pleased with the finished results.
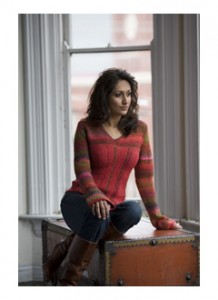
The shape looks a bit odd on my mannequin, but it looks good on my body as I fill it out in the right places and I actually have shoulders and arms! Those are required to make the sweater look good. The arms look long in the photos but they actually fit me. I have measured and carefully worked to get the sleeves to be the correct length. Of course real human arms fill them out and pull them up to make them look the proper length and shape. And a lot better! Someday I hope to get a mannequin with arms! Meanwhile this will have to do.
I’m taking these photos by myself and don’t have equipment to photograph myself in the sweaters so the mannequin will have to do as my model until someone is here to photograph me modeling my sweaters.
It is better to take these photos than none! It has taken me forever to get around to photographing my finished knitting projects. I think that is because I am very concerned that I do a good job! I do not like seeing photos of knitted garments that do not do them justice.
I also would rather be knitting than photographing and posting photos of my knitting! Knitting is the most relaxing thing in the world. Photographing knits and writing about them is not as pleasant in my opinion. It requires discipline! However, now that I am blogging I want to get them up and I want to post them on the knitting website Ravelry.
I created this pattern myself as I went along. I kept notes, but I think it would be very hard to recreate the pattern and rewrite the instructions for someone else as I did many try-ons for fitting and adjustments as I knitted along. Also, having used many old yarns which no longer had their labels and are of mysterious identity even to me, I would find it hard to write the pattern and advise people on exactly what currently available yarns to use.
If you want to make something like this I suggest you find a plain sweater pattern that you like. Then dive in! Decide what you want to use for the ribbing and front bands, start there, and add yarns when and where it looks good to you to create the stripes as you work. That is how I did it!
I have also used self striping yarns such as Noro and Tonalita for other striped sweater projects. I love them because there are no ends to weave in or splice! And no gauge changes to calculate. You can safely knit them mindlessly going along and end up with excellent striping results. The yarn makers have dyed the yarn to make the stripes for you. If you want to make a striped sweater similar to this, with less work, I advise you to choose a Noro yarn in the color way of your choice and knit a plain cardy. You could use a solid color yarn of the same weight to make the ribbing and button bands if you chose to. Using a self-striping yarn for a sweater like this would be an intermediate level project. Using the varied yarns as I did is more challenging and I would rate it as an advanced level project.
I will post a brown striped cape/shawl soon to illustrate how one of the Noro Iro self striping yarn works up.


